This tutorial will show you how to set up your default printer.
NOTE: This tutorial is for Windows 7 operating system. Steps in this can be used to set up your default printer in Windows 10 as well.
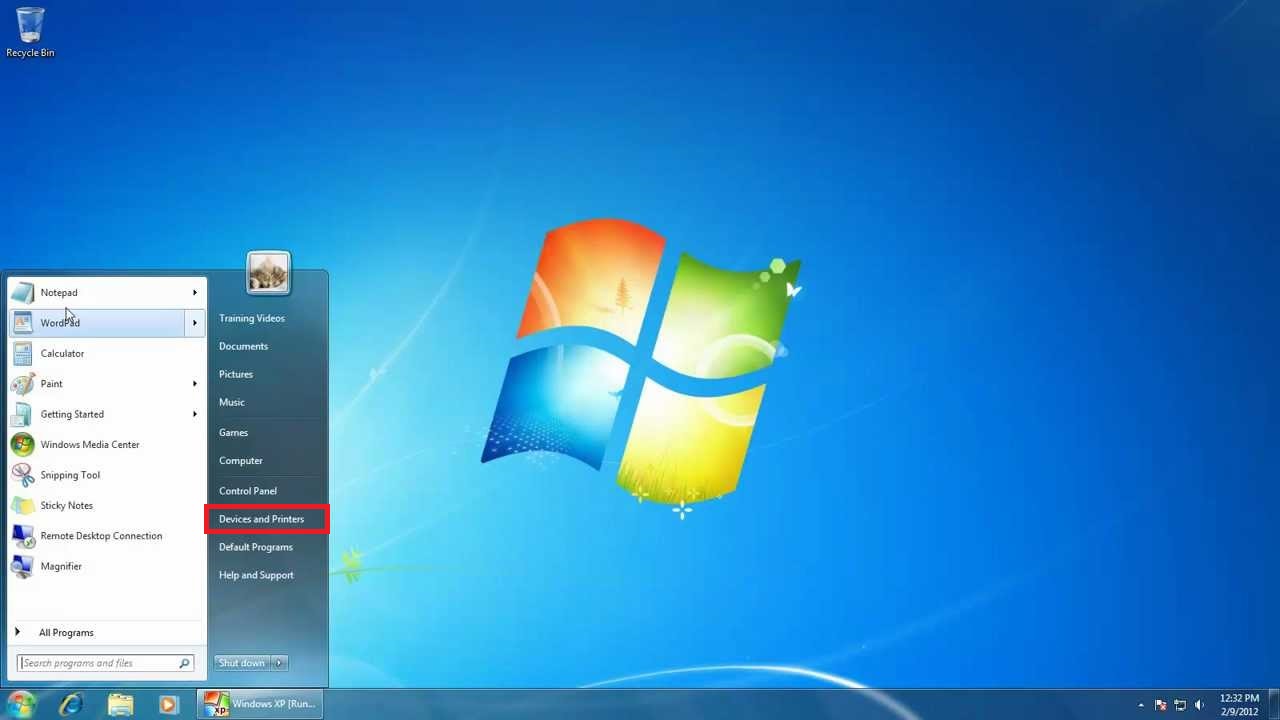
While on the desktop. Click on the “Start Menu” button. The “Start Menu” button is located at the bottom left of the desktop.

After opening up the Start Menu, Click on the button called “Devices and Printers”
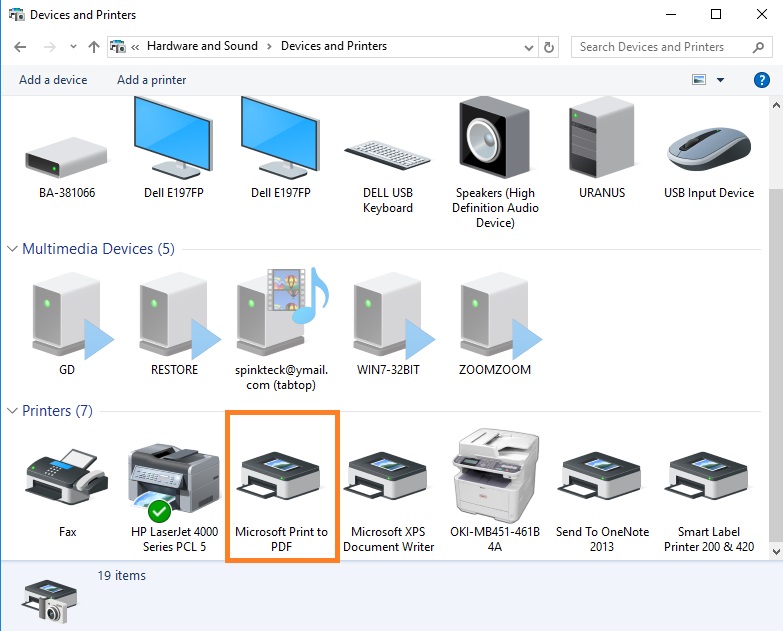
After opening up “Devices and Printers,” find the name of the printer that you want to set up as your default printer and right click it.
Once you right click the printer, a drop down menu will appear and then you would click on the “Set as Default Printer” option. A little green circle with a check mark should appear over the printer to indicate that the printer has been set up properly.
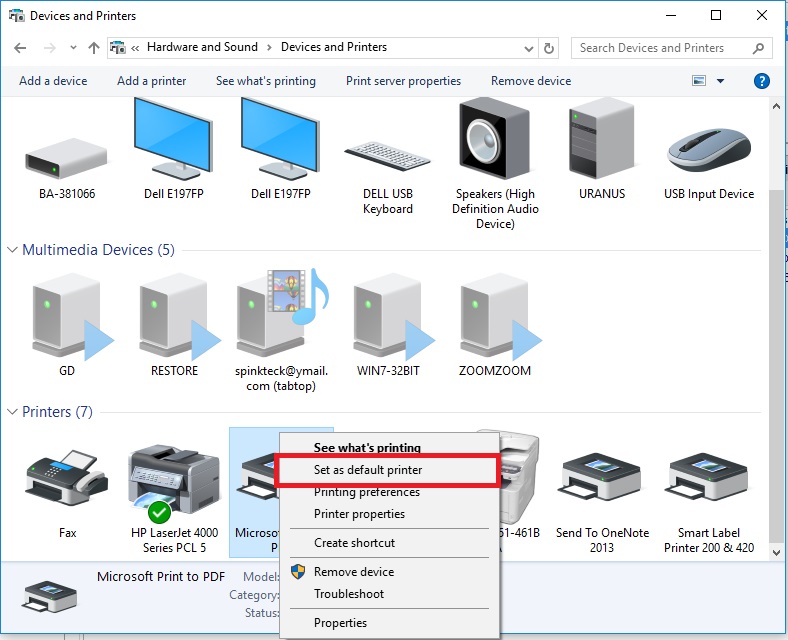
Once you click on “Set as default printer,” the printer you clicked on should have a green circle with a check mark inside of it signifying that it is the default printer.